Obtaining the installer
You can click on this button in the user-interface, it will open the download page in a browser:

Download the JobClient for Windows:

Installation
The installation of JobClient is very straightforward. Just follow the steps of the installer. Most important is to check whether the path to your Indesign installation is correct. If Indesign is not installed in its default location, it might not have been detected automatically, in that case you can browse to and select the correct installation path.
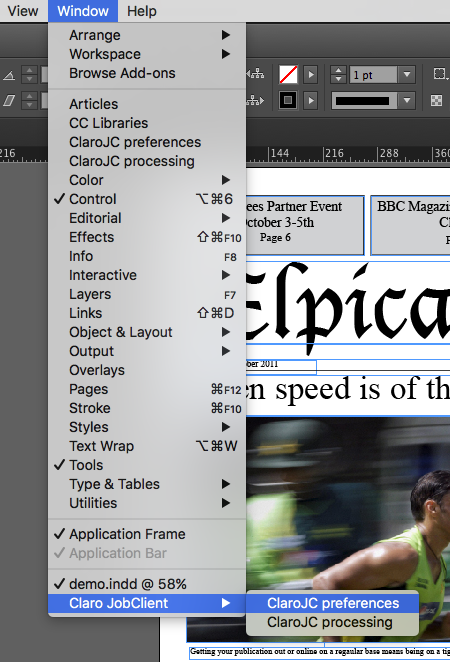
After installation is finished, (re-)start Indesign. First thing to do is find the menu and open the preferences of JobClient. See screenshot below.
Setup the connection settings needed to connect to the Pixometry server. After filling in the correct hostname or ip number of the Pixometry server, click “Check” to connect to the server. See screenshot below.
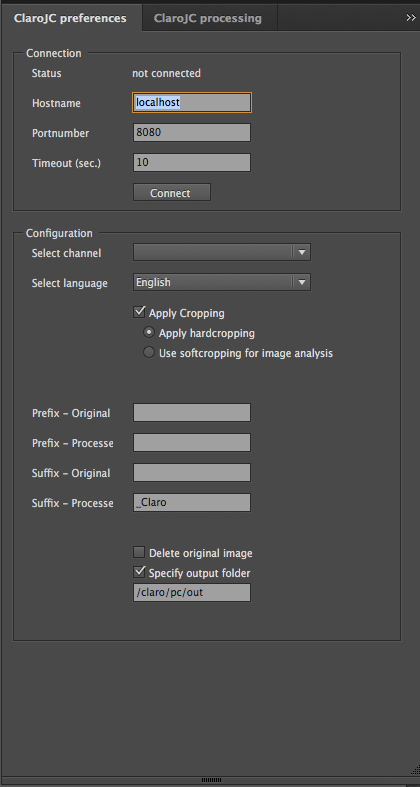
If the connection cannot be established there can be three reasons:
1. The Pixometry service isn’t up and running;
2. The hostname or IP address is incorrect or the hostname cannot be resolved to an ip address (dns issue).
3. The HTTPS port number used for the connection is incorrect or the port is blocked by a firewall or used by another application. This can be an issue on the workstation and/or on the Pixometry server.