-
The sliders represent target levels, not actions! Image enhancement is dynamic, image specific, and based on image analysis.
-
The sliders middle position, with a corresponding value of 0, means that it is on our default setting. 0 does NOT mean that there won’t be a correction. To disable a function completely, uncheck the checkbox that corresponds to the setting.
-
See also “Best practices to tune enhancement settings”
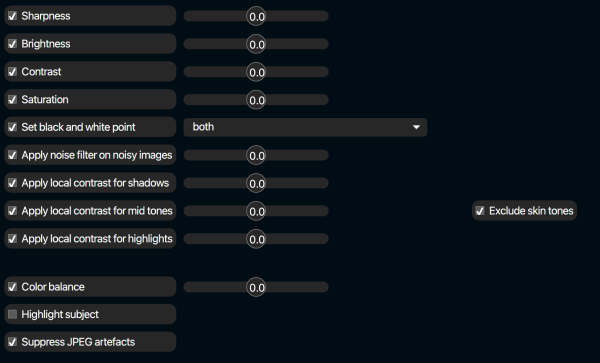
Sharpness
Sets the target level of sharpness. Depending on individual characteristics of the original image like level of sharpness, number of pixels, noise etc, the actual unsharp mask properties like radius, threshold and amount are defined.
Brightness
Sets the target level of brightness. The actual brightness correction depends also on the characteristics of images. Images shot at night versus images of winter-sports will not be corrected to the same brightness level.
Contrast
Sets the target level of contrast.
Saturation
Sets the target level of saturation.
Set black & white point
Sets the black and/or white point in the image. In advanced settings are more settings available to tune the behaviour of this feature.
Apply noise filter on noisy images
Noise filtering based on noise analysis.
Apply local contrast for shadows
This feature opens up the shadow areas in images.
Apply local contrast for mid tones
This feature improves contrast in mid-tones. The option “Exclude skin tones” is there to avoid too much contrast in skin tones that could emphasise imperfections in skin. In news print, this additional contrast provides for more “depth” in faces and is usually welcome. For higher quality print, the “Exclude skin tones” function is advisable.
Apply local contrast for highlights
This feature provides additional contrast and detail in highlight areas.
Color balance
Removes color casts in images.
Highlight subject
This feature will make the main subject a bit brighter and the background a bit darker, to highlight the subject. The function only works with Google Vision enabled, including beta features. The effect is subtle but noticeable.
Suppress JPEG artefacts
Reduce JPG artefacts in images.
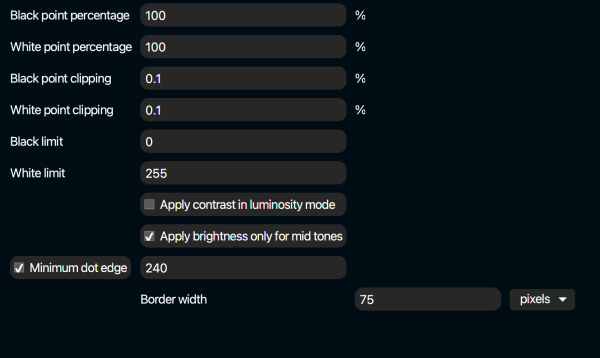
Advanced Image Enhancement settings
Black point percentage
This feature influences the effect of setting the black point. Default setting is 100%.
100%: If Pixometry finds a black point with an RGB value of 10, that point will be set to 0 (black) and the rest of the histogram will be adjusted accordingly.
50%: if Pixometry finds a black point with an RGB value of 10, that point will be set to 5 (50% of the correction) and the rest of the histogram will be adjusted accordingly.
Note: If Pixometry finds a black point of 0 (already black), no correction is needed. In that case it does not make a difference what percentage is used here. Therefore, this feature is not meant to set a minimum value for black. That requirement can be met in several ways: with the output ICC profile, with curves (OUTPUT CONVERSION) and with Black limit.
White point percentage
This feature influences the effect of setting the white point. Default setting is 100%.
100%: If Pixometry finds a white point with an RGB value of 245, that point will be set to 255 (white) and the rest of the histogram will be adjusted accordingly.
50%: if Pixometry finds a white point with an RGB value of 245, that point will be set to 250 (50% of the correction) and the rest of the histogram will be adjusted accordingly.
Note: If Pixometry finds a white point of 255 (already white), no correction is needed. In that case it does not make a difference what percentage is used here. Therefore, this feature is not meant to set a maximum value for white. That requirement can be met in several ways: with the output ICC profile, with curves (OUTPUT CONVERSION) and with White limit.
Black point clipping
In setting the black point, a certain percentage of pixels must be “clipped”. Due to electronic noise present in any image, there will always be a black pixel (RGB value 0). Yet we want to find the “real” black point, and ignore noise. The default clipping percentage is 0.1%. This an accepted standard that is also used in Photoshop for example. To increase contrast or find a “real” black point in noisy images, this value should be increased. Typically the range of acceptable settings is between 0.1 and 0.5, but it really depends on the quality of the originals.
White point clipping
In setting the white point, a certain percentage of pixels must be “clipped”. Due to electronic noise present in any image, there will always be a white pixel (RGB value 255). Yet we want to find the “real” white point, and ignore noise. (and maybe also highlights as light-points or solar reflections). The default clipping percentage is 0.1%. This an accepted standard that is also used in Photoshop for example. To increase contrast or find a “real” white point in noisy images, this value should be increased. Typically the range of acceptable settings is between 0.1 and 0.5, but it really depends on the quality of the originals.
Black limit
In print applications, it may be a requirement to have a minimum dot in white areas, and a maximum for black. Achieving this is primarily a function of the output icc profile. However, to avoid spreading the information of the histogram between absolute white and absolute black just to partially reverse that with the output profile, Pixometry allows to use a black limit and white limit in setting the black and white point. Note that this works in RGB values, therefore 0 is black, 255 is white.
Apply contrast in luminosity mode
Convert the image to LAB colorspace and apply the contrast curve only on the L (luminance) channel. This avoids the increase in saturation otherwise seen if contrast curves are applied on RGB channels.
Apply brightness only for mid tones
By default, if a brightness correction is required, a gamma curve is being used to apply the correction. A gamma curve is stronger in dark areas, and then flattens towards the brighter areas. This is also the default brightness correction curve in for instance Photoshop. By enabling this option, a more bell-shaped curve is used that applies strongest in the mid tones.
Minimum dot edge
Introduce a minimum dot in highlight areas, but only around the edges, to introduce a border around the images in print. Preserve overall contrast by setting the minimum dot only around the edges. The border size represents the width of the border, where the minimum dot will transition from the minimum dot value to 0, on a sliding scale.