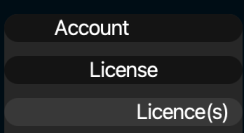
First click the button that takes you to the account and license info:

Login with the account that you previously created. If it does not already display the license overview, then click the “License” button to get there:

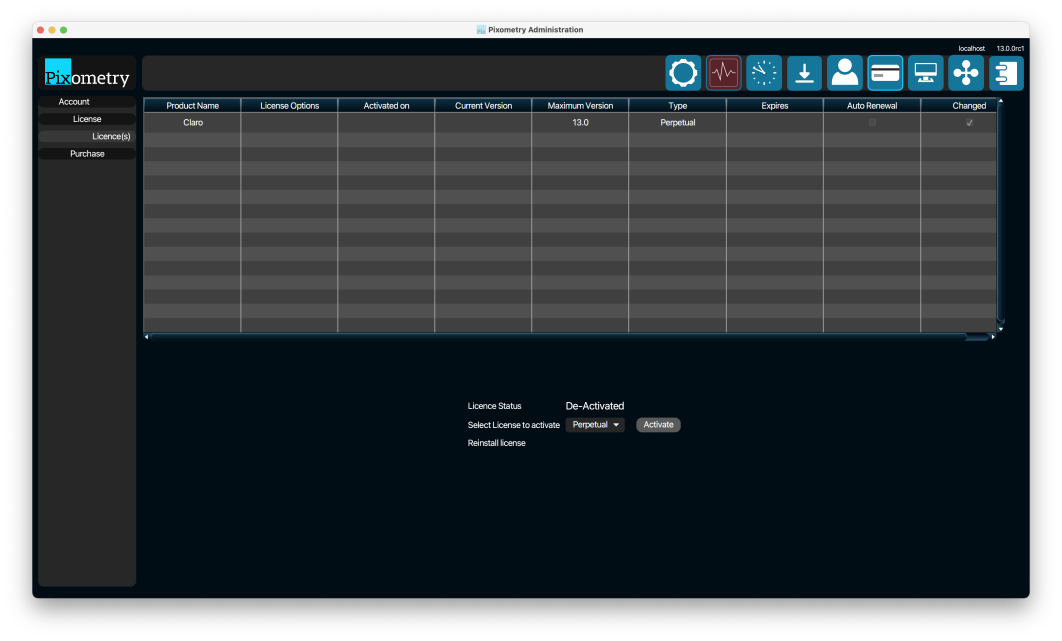
That will bring you to the following overview page:

In this screenshot, there is a perpetual license available for activation. Clicking the “Activate” button will activate the license on your Claro server. If there are multiple licenses available, choose the correct one from the drop-down-menu before clicking the “Activate” button. You are now ready to process images!
If the Pixometry server does not have an internet connection, you can activate the license by running the PixometryAdmin application on a workstation in the network, and connect it to the Claro server. Here is how to install and run the PixometryAdmin app on a workstation.